Skip to content
All Recipes
All Recipes | A Blog With Doctor’s Prescribed Foods
Recipes
Expand
All Recipes
BreakFast Recipes
Privacy Policy
About Us
Contact Us
All Recipes
Toggle Menu
traditional
German Pretzels Recipe
Swiss Cheese Fondue Recipe
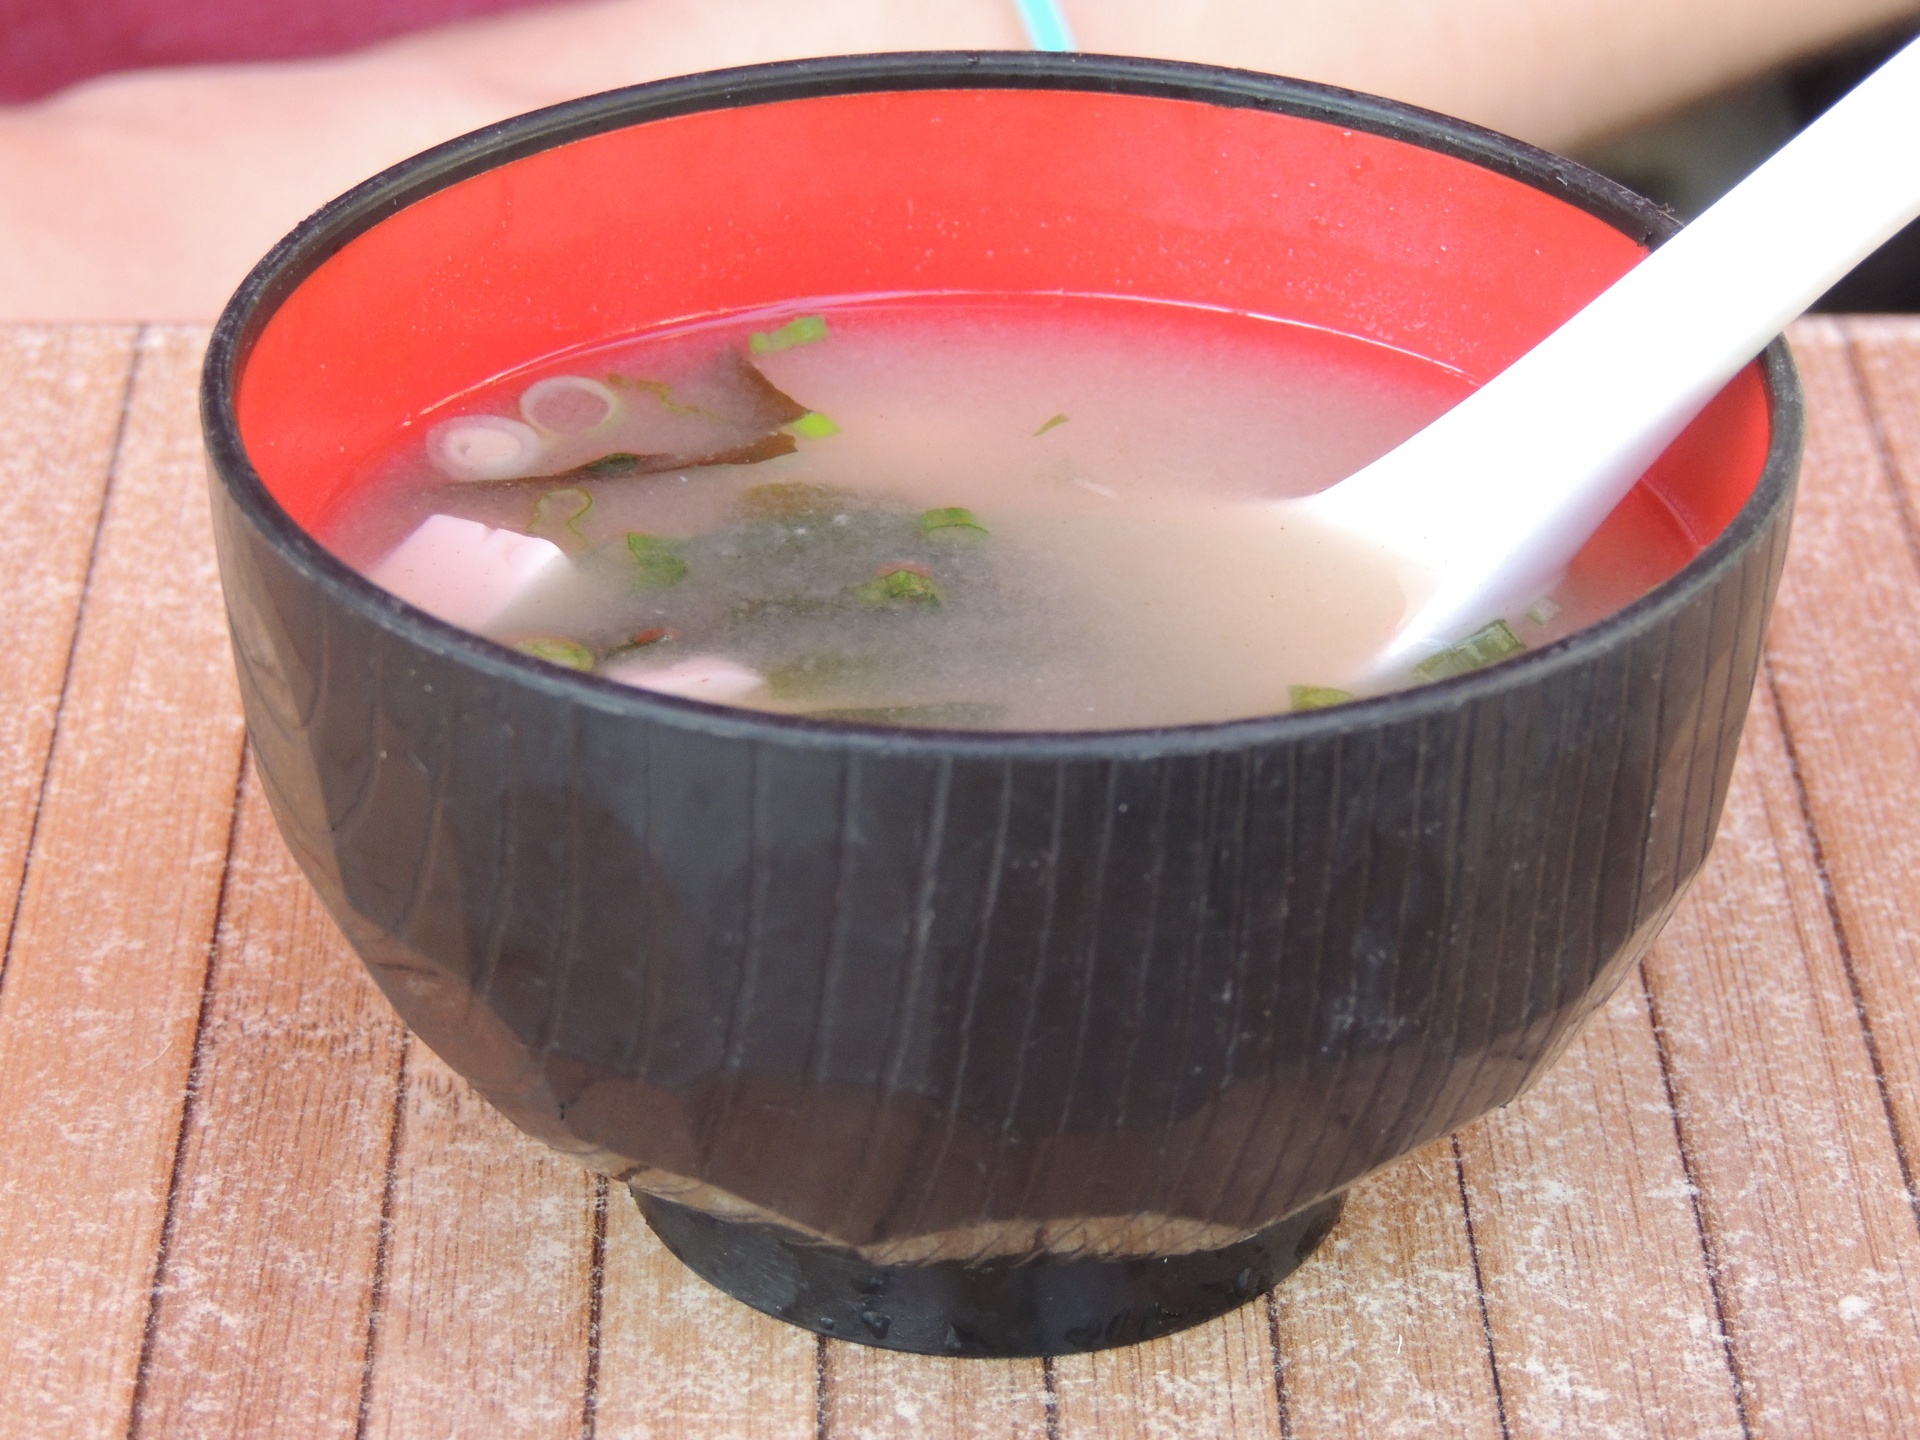
Japanese Miso Soup Recipe
Moroccan Couscous with Seven Vegetables Recipe
Scottish Haggis Recipe
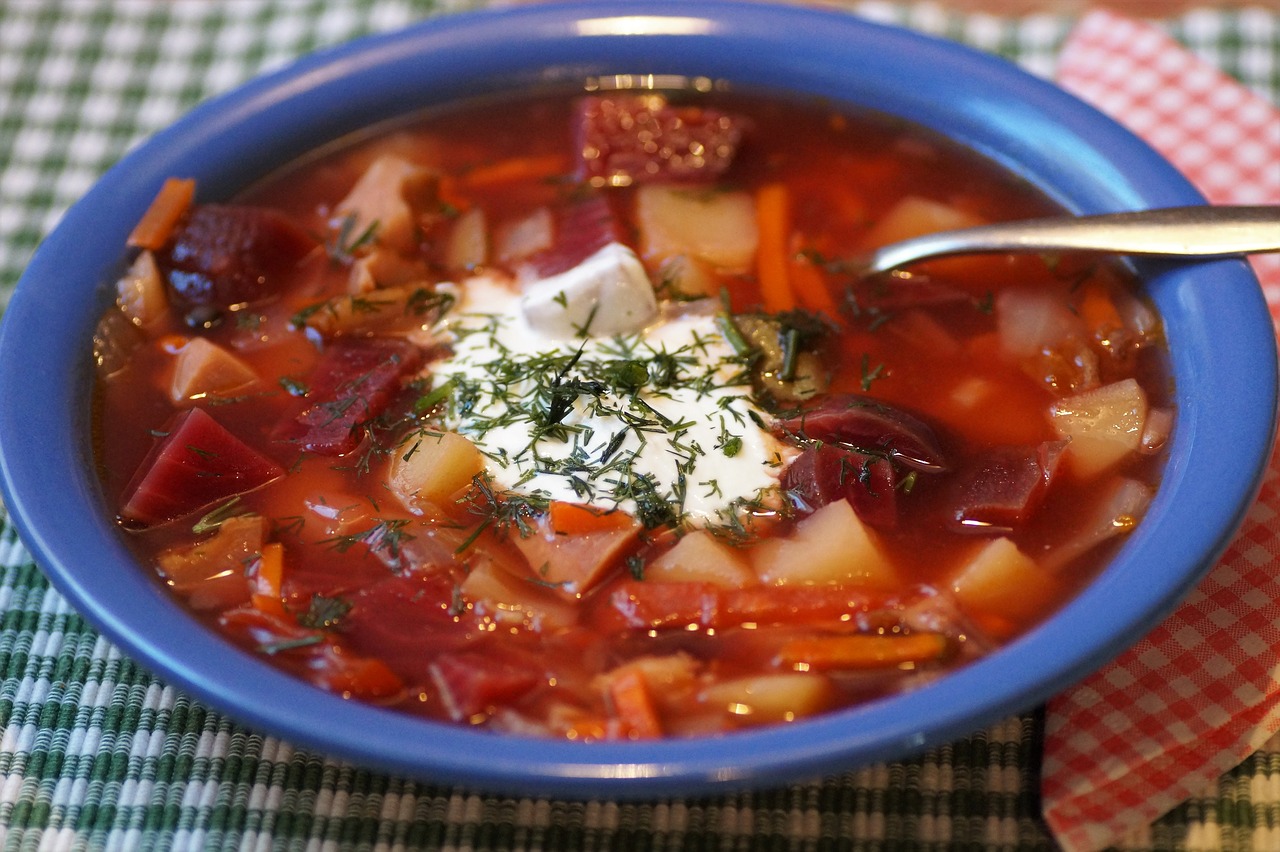
Russian Borscht Recipe
Indian Chicken Biryani Recipe
Australian Vegemite Toast Recipe
Indian Palak Paneer Recipe
Mexican Pozole Recipe
Page navigation
Previous Page
Previous
1
2
3
Next Page
Next
All Recipes | A Blog With Doctor’s Prescribed Foods
Recipes
Toggle child menu
Expand
All Recipes
BreakFast Recipes
Privacy Policy
About Us
Contact Us