Skip to content
All Recipes
All Recipes | A Blog With Doctor’s Prescribed Foods
Recipes
Expand
All Recipes
BreakFast Recipes
Privacy Policy
About Us
Contact Us
All Recipes
Toggle Menu
traditional
Italian Osso Buco Recipe
Spanish Tortilla de Patatas Recipe
Mexican Chicken Mole Recipe
German Black Forest Cake Recipe
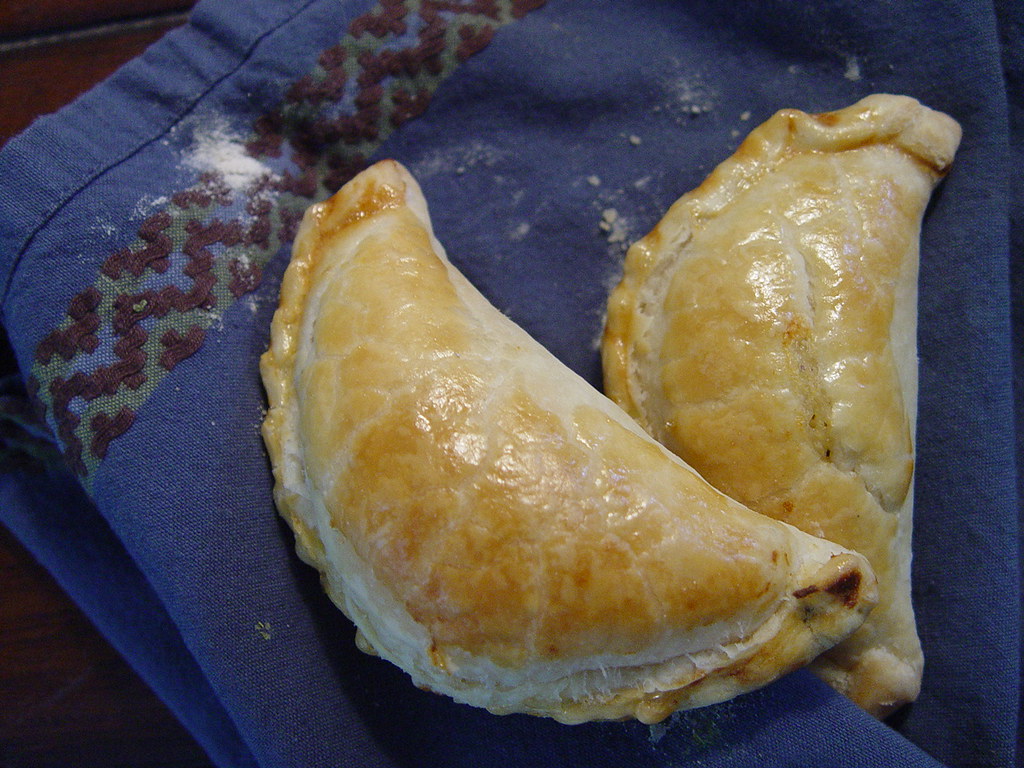
Argentinean Empanadas Recipe
Jamaican Curry Goat Recipe
Page navigation
Previous Page
Previous
1
2
3
All Recipes | A Blog With Doctor’s Prescribed Foods
Recipes
Toggle child menu
Expand
All Recipes
BreakFast Recipes
Privacy Policy
About Us
Contact Us