Easy Baked Apples Recipe
Easy Baked Apples Recipe: A Delectable Fall Treat
As the autumn leaves dance into vibrant hues, the sweet aroma of baked apples fills the air, evoking memories of cozy evenings and family gatherings. This delectable recipe for Easy Baked Apples will delight your senses and evoke a warm, nostalgic feeling. Grab a piping-hot mug of cider and let’s embark on a culinary adventure!
Origin and History of Baked Apples
The roots of baked apples can be traced back centuries, with variations found across different cultures. In ancient Rome, they were often stuffed with honey and nuts, while in medieval England, they were served as a special dessert on feast days.
Over time, baked apples evolved into a beloved comfort food, particularly during the fall when apple harvests are at their peak. The dish symbolizes the changing seasons and brings a touch of warmth to the cooler months.
Personal Touch
Growing up, the smell of baked apples always filled our home during autumn. My grandmother would meticulously core and stuff the apples with a fragrant blend of cinnamon, sugar, and raisins. The aroma was so intoxicating, I would often stand by the oven, patiently waiting for my treat.
Things to Expect in This Post
In this comprehensive guide, we will explore the secrets of making the perfect Easy Baked Apples recipe. From selecting the ideal apples to mastering the art of baking, we’ll cover every step in detail. You’ll also learn about the nutritional benefits of apples and discover some intriguing variations of this classic dish.
Ingredients List:
- 6 medium-sized baking apples (such as Granny Smith, Honeycrisp, or Braeburn)
- 1/2 cup granulated sugar
- 1 teaspoon ground cinnamon
- 1/4 teaspoon ground nutmeg
- 1/4 cup chopped walnuts
- 1/4 cup raisins
- 2 tablespoons unsalted butter, cut into small pieces
- 1/4 cup apple cider or water
Preparation Steps:
-
Prep the Apples: Preheat oven to 375°F (190°C). Wash and core the apples, leaving the stems intact.
-
Make the Filling: In a medium bowl, combine the sugar, cinnamon, nutmeg, walnuts, and raisins.
-
Stuff the Apples: Fill the cavities of the apples with the filling and dot with butter.
-
Bake: Place the apples in a baking dish and pour the apple cider or water around them.
-
Roast: Bake for 45-55 minutes, or until the apples are tender and the skins are slightly wrinkled. Use a fork to check for doneness.
Cooking Time & Servings:
Total Cooking Time: 45-55 minutes
Servings: 6
Nutritional Information:
Per Serving:
- Calories: 250
- Fat: 5 grams
- Carbohydrates: 55 grams
- Protein: 2 grams
- Fiber: 3 grams
Health Conditions and People to Avoid This
While baked apples are generally considered a healthy treat, certain individuals may need to limit or avoid them.
- Diabetes: Apples contain natural sugars, so people with diabetes should consume them in moderation.
- Digestive Issues: Apples are high in fiber, which can be beneficial for digestion. However, eating large amounts of fiber can also cause gas and bloating in some people.
- Allergies: Some people may be allergic to apples or specific apple varieties.
Nutrition and Benefits to the Body
Apples are packed with essential nutrients:
- Vitamin C: Supports immune health and collagen production.
- Potassium: Promotes healthy blood pressure.
- Antioxidants: Protects cells from damage and reduces inflammation.
- Fiber: Supports digestive health and satiety.
Disadvantages
Excessive consumption of certain nutrients in apples may have some disadvantages:
- Sugar (Natural): Eating moderately is perfectly fine, but acquiring excess of this nutrients is harmful.
- Potassium: Eating moderately is perfectly fine, but acquiring excess of this nutrients is harmful.
Tips and Tricks
- For a sweeter filling, use a sweeter apple variety, such as Honeycrisp or Fuji.
- Brush the apples with maple syrup before baking to enhance the caramelization.
- Add dried cranberries or other dried fruits to the filling for extra flavor.
- Serve the baked apples with whipped cream, ice cream, or a dollop of yogurt.
Equipment Needed
- Sharp knife
- Apple corer
- Medium bowl
- Baking dish
- Measuring cups and spoons
Variations or Substitutions
- Apple Varieties: Experiment with different apple varieties, such as McIntosh, Cortland, or Jonagold.
- Filling Variations: Use a combination of dried cherries, cranberries, or blueberries instead of raisins.
- Gluten-Free: Substitute oat flour or almond flour for the wheat flour in the filling.
- Vegan: Use plant-based butter instead of regular butter.
Serving Suggestions
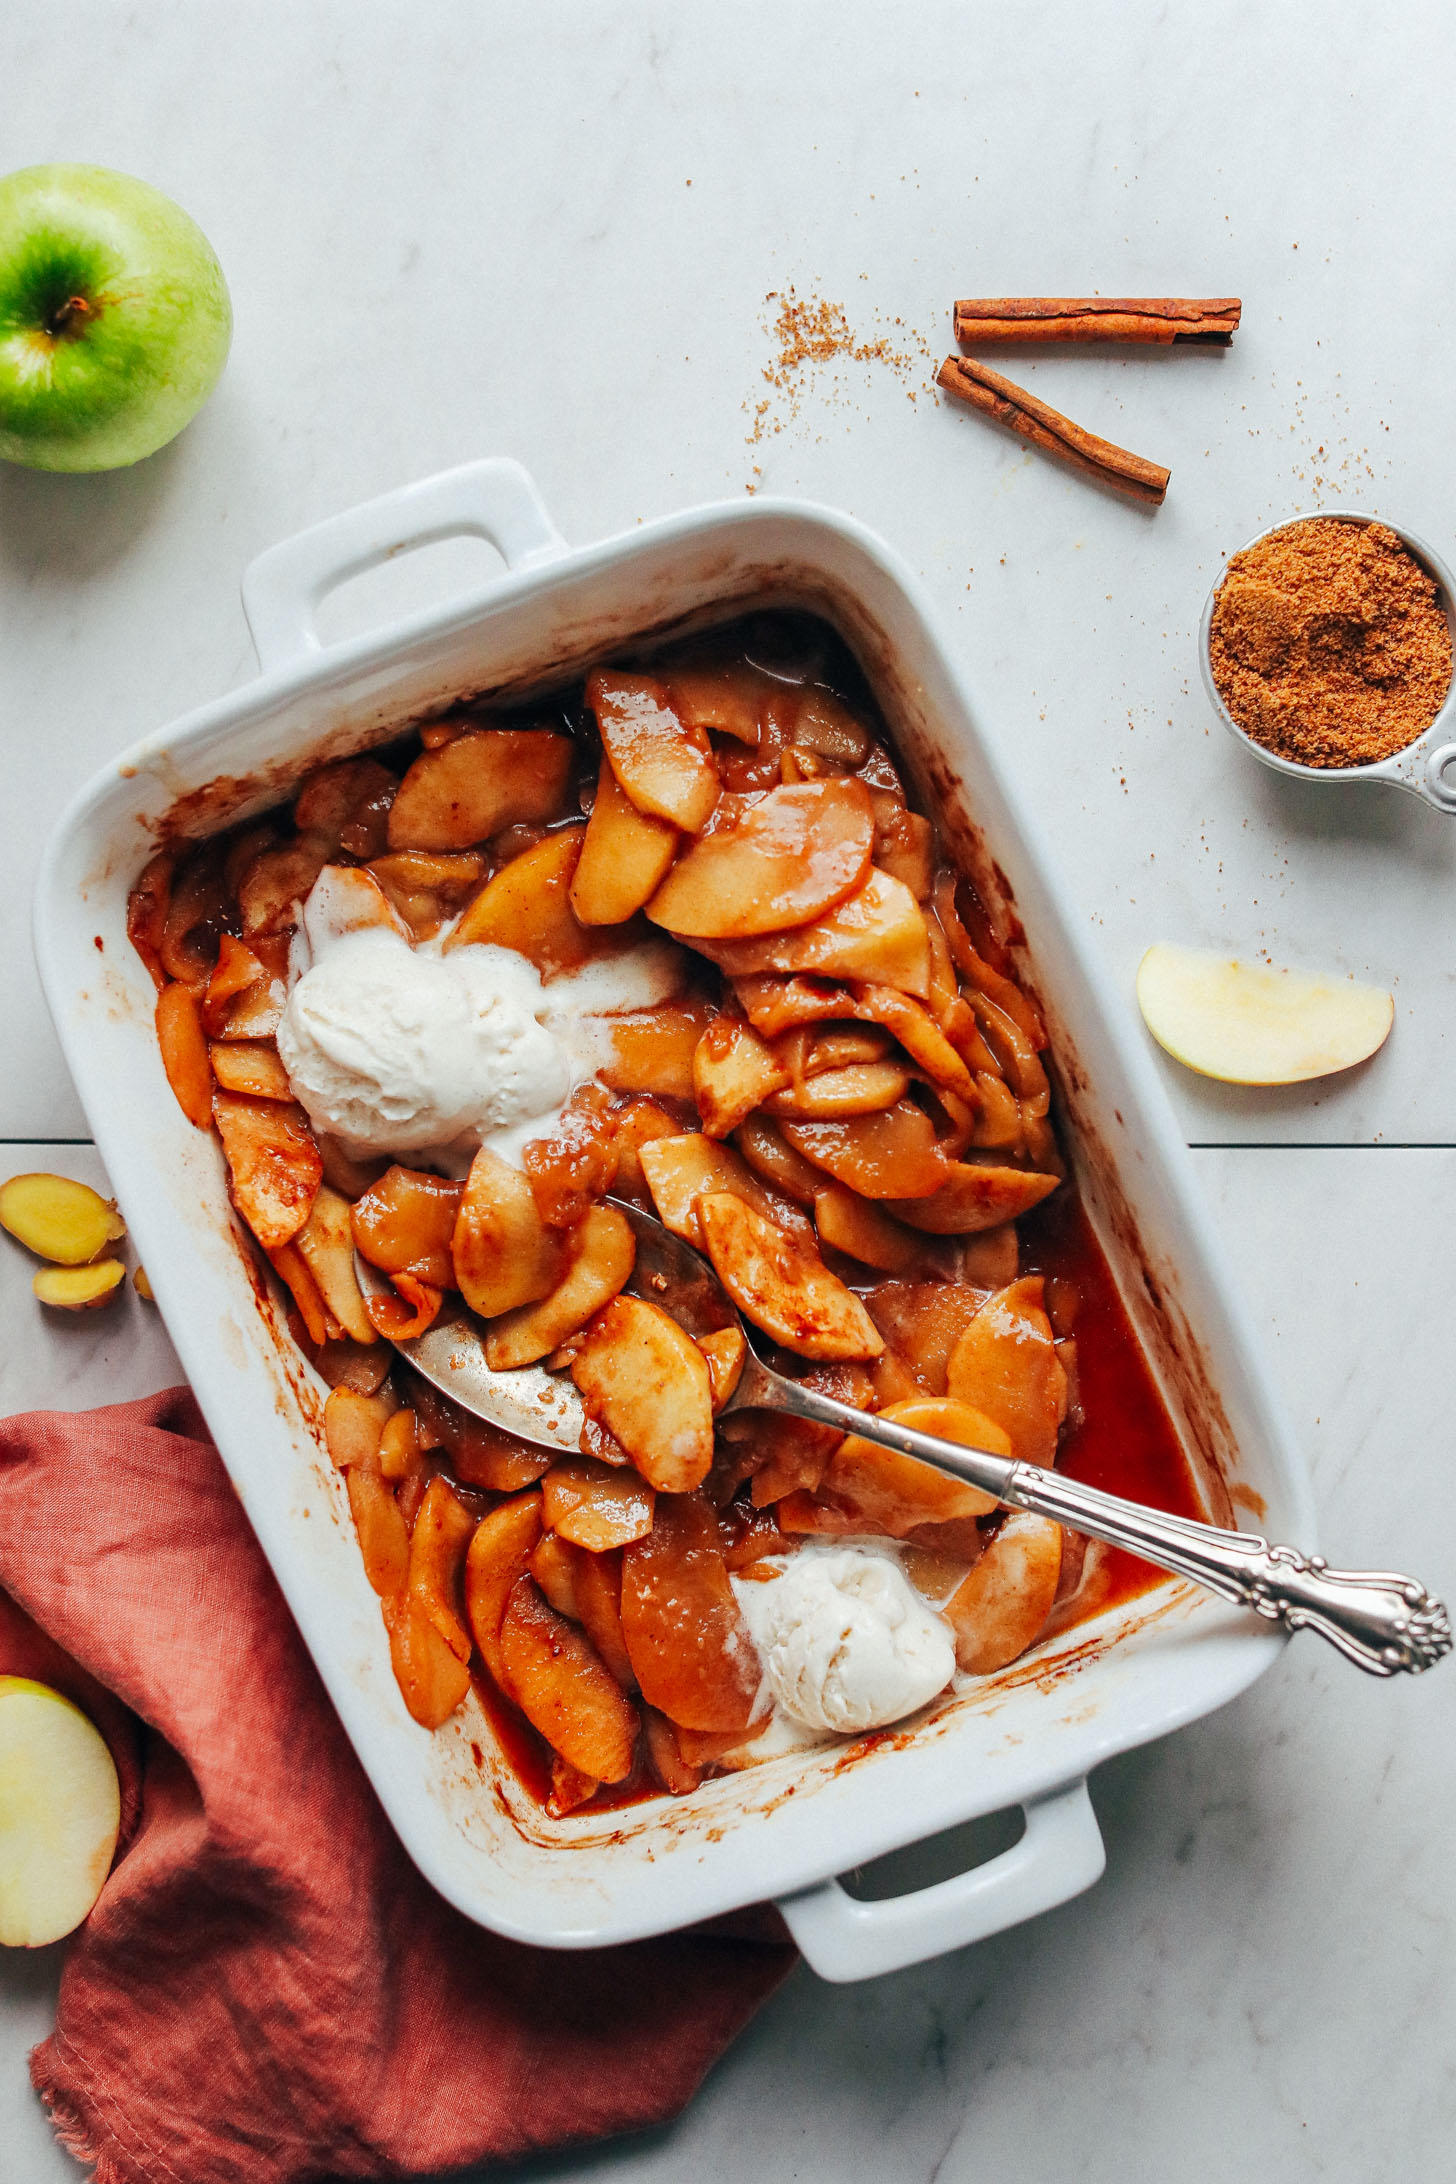
- Serve baked apples as a warm dessert with a scoop of vanilla ice cream.
- Garnish with fresh mint or a drizzle of caramel sauce.
- Offer baked apples as a healthy breakfast option, topped with granola and yogurt.
Storage and Reheating Instructions
- Store leftover baked apples in the refrigerator for up to 3 days.
- To reheat, place the apples in a preheated oven at 350°F (175°C) for 10-15 minutes, or until warmed through.
Conclusion
Indulge in the warm and comforting flavors of Easy Baked Apples this fall. This simple yet delightful recipe is sure to become a family favorite. Don’t forget to share your culinary creations on social media and tag us for a chance to be featured. Bon appétit!
FAQs
Q: Can I use frozen apples?
A: It’s best to use fresh apples for this recipe, as frozen apples may become mushy during cooking.
Q: How do I know when the apples are done baking?
A: Insert a fork into the center of an apple. If it comes out clean, the apple is done.
Q: Can I make the filling ahead of time?
A: Yes, you can make the filling up to a day ahead of time. Store it in an airtight container in the refrigerator.
Q: What are some alternative fillings?
A: You can try a mixture of brown sugar, oats, and chopped pecans. Or, use a store-bought apple pie filling.
Q: How can I make baked apples healthier?
A: Use whole-wheat flour in the filling and skip the butter. You can also reduce the sugar by half.

